August 2022 - Bubble Breathing Therapeutic Art Making Intervention
Finding creative therapy interventions can be so difficult! That is why I have created a library of creative interventions so that any therapist can easily find interventions to do with their clients. Please keep in mind the importance of the terminology you are using with these interventions! Art Therapy interventions are done by a trained and registered Art Therapist. Luckily, all of these interventions are appropriate for any clinician to use as Therapeutic Art Making interventions! All of the interventions found in my Creative Intervention Library are art activities perfect for therapy sessions. Most of the interventions also have a telehealth modification for those of us who are still seeing clients virtually. Every month, I post a new creative intervention for you to use. Looking for more? For the price of a cup of coffee per month, you can get access to a second creative intervention as well as access to the entire library catalog of previous months.
This intervention is such a fun activity, but be warned that this can get a little messy! It is great because it provides the client with a breathing activity, as well as a fun process and final product.
Please note, If you do take any photos of client’s art work, make sure you have a consent form signed for this. I have a Consent to Photograph Artwork Created in Therapy Sessions Form in my products if you need one for your practice. Even with therapeutic art making, it is ethically necessary to have this consent form signed. Also make sure to remove any identifying information from any art work before photographing it, such as names or signatures.
I offer personalized intervention ideas in the clinical consultation and supervision I provide as well! When I work one on one with clinicians, I love being able to create specific interventions tailored to each client and their presenting concerns. Feel free to reach out with any questions to see if creative supervision and consultation would be a good fit for you and your practice!

Process Video:
Age range: 8+
Diagnosis: Any
Supplies Needed:
A few bowls
Water
Acrylic paint or food coloring
Acrylic paint is ideal here as it produces more vivid colors, but in a pinch food coloring can be used but the colors will not be as visible
Plastic straw
I HIGHLY recommend poking a hole at the top of the straw with a pushpin. This ensures that the client will not accidentally suck up any of the bubble mixture. Even though everything is non-toxic it still doesn’t taste great!
Hand soap or dish soap
Plain paper
Surface covering such as newspapers, an old cloth, etc
If possible, an apron or old tshirt for the client to wear (or ask the client to wear a a shirt they don’t mind potentially getting some paint on
Uses: An activity that is such a fun activity, but be warned that this can get a little messy! It is great because it provides the client with a breathing activity, as well as a fun process and final product.
Artistic skills needed: None!
Instructions:
First, prepare your work area. Lay down a surface covering such as newspapers, a towel, or an old cloth
I highly recommend not skipping this step. This intervention only uses non-toxic washable materials, but has the potential to have some spillage. It will make your life much easier and a quick cleanup to take a minute to prepare the area.
This is also when I would recommend poking a hole in your plastic straw. Children (and even teens/adults) can accidentally suck up instead of blowing out and could suck up the soapy mixture. It won’t taste good! Poking a hole at the top (but beneath where their mouth would go) blocks them from sucking up the mixture and does not impact their ability to blow bubbles
Fill each bowl nearly to the top with water, about 3/4 of the way
Add a few drops of hand soap or dish soap
Have your client choose which colors they want to use (the max number being the max amount of bowls you have)
Add a few drops of the acrylic paint (or food coloring) to each bowl with the water and soap. Use the straw to mix up the color and soap into the water
If you have chosen to use food coloring, you will need A LOT of coloring to make marks on the page. I really only recommend this if you do not have any paint.
Teach your client what bubble breathing is!
“This exercise works effectively and brings lots of mindfulness breathing benefits. To start with it, all you have to do is imagine all your worries and all the things that make you upset. Now simply picture all the concerns into bubbles & while you breathe, hold between for a moment and when you exhale, observe as if you are blowing a bubble. Imagine the shimmery; floating bubbles are carrying your worries away. As you start breathing slowly, focus on blowing all the imaginary bubbles that are filled with tension and stress. Let your body feel relaxed and calm” (https://www.calmsage.com/mindfulness-breathing-exercises/)
Have the client blow bubbles into the bowl and make sure the bubbles go above the top of the bowl.
This intervention does require some assistance from you to make the process as smooth as possible. Setting up a few pages of blank paper next to the bowls will help here, too
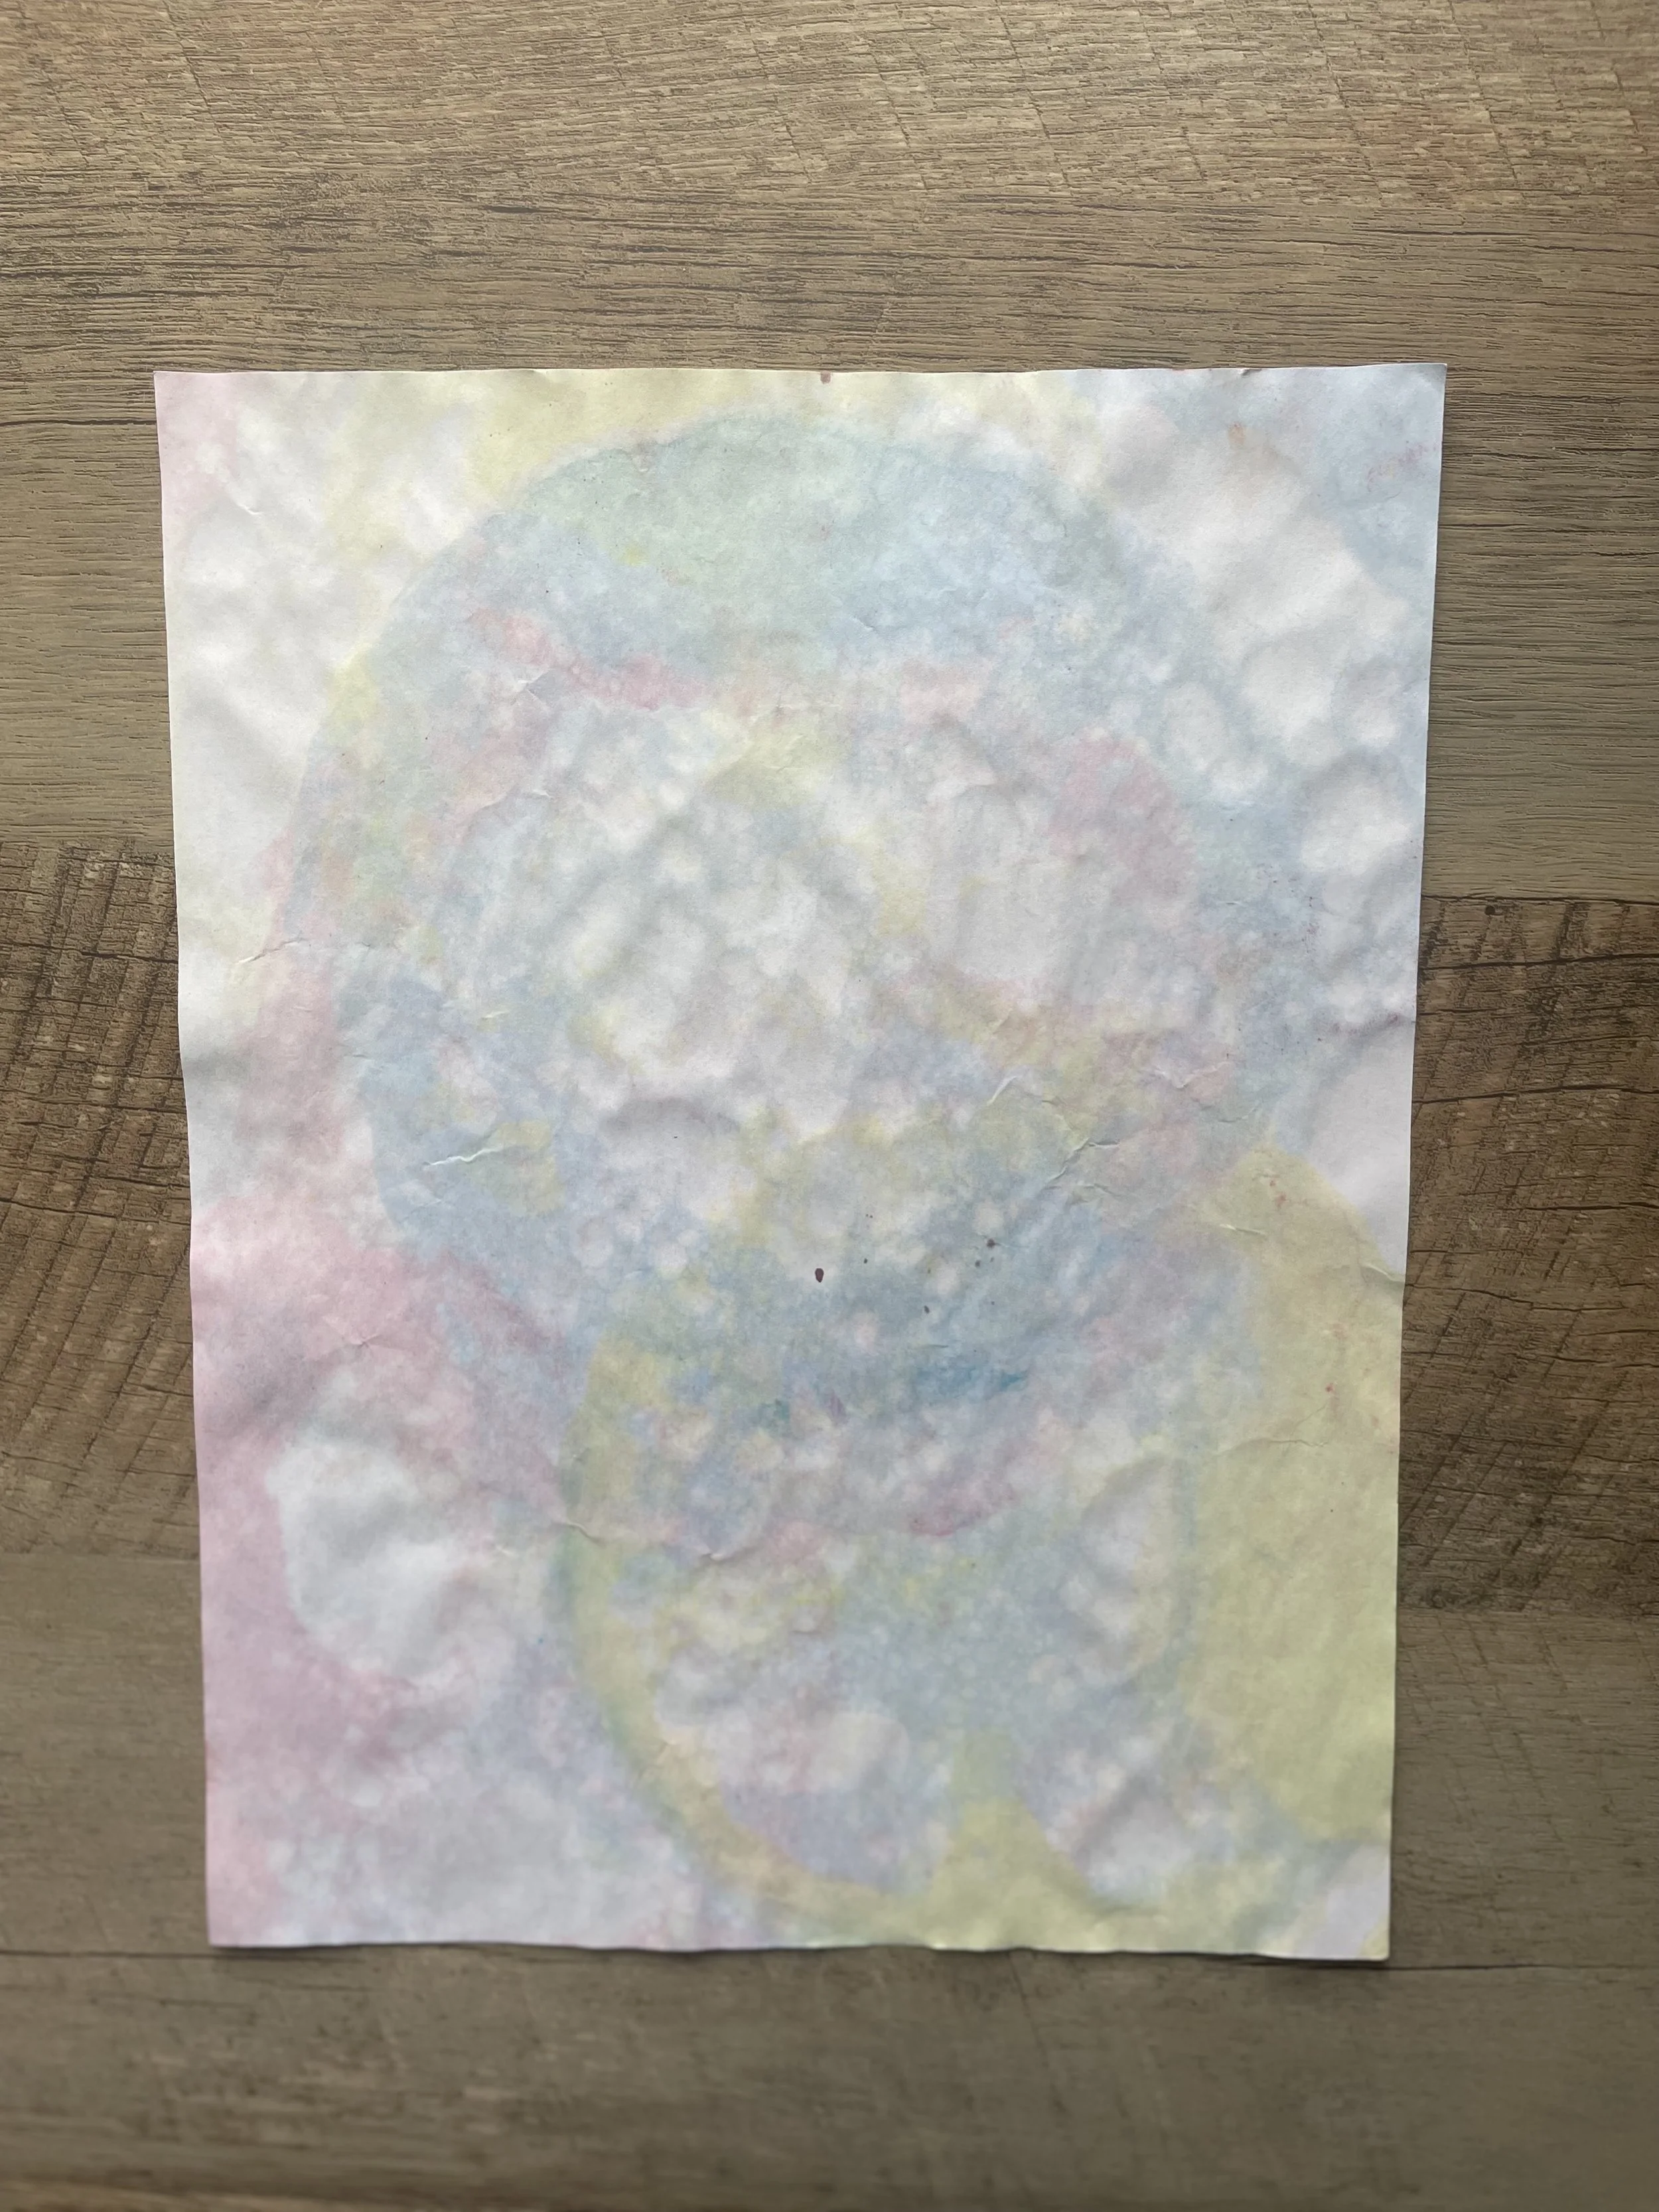
Take a blank piece of paper and while you hold the edges, have the client push the middle of the paper into the bubbles. This will pop them and leave a bubble print on the paper!
The paper will be WET once you push it into the bubbles. Put it down on your surface covering and do another one. I usually make 4-5 so that they have time to dry slightly before adding another color
You can go back and add another bubble print to the paper, even if it is still wet it will add the color! You want the bubble prints to make layers and fill the entire page
This intervention may seem a little complex, but with the proper setup it can be straightforward! This is a great way to have some fun with your client, be silly, and create an engaging and memorable breathing technique with your clients
Explain to your client that if they want to, they can keep the bubble print somewhere they can see it and it can be a reminder for them to use their bubble breathing technique when they need it